Module 1: Create an Azure IoT Hub
Index
- Module 1: Create an Azure IoT Central application
- Module 2: Set up your Raspberry Pi
- Module 3: Set up your development environment
- Module 4: Run the solution
- Module 5: Dockerize the Air Quality Monitor solution
- Home
Introduction to Azure IoT Central
Azure IoT Central provides an easy way to connect, monitor, and manage your Internet of Things (IoT) assets at scale.
This lab will be using Azure IoT Central to graph air quality levels and set alerts. We are going to create an Azure IoT Central application and then one device.
Download the Azure IoT Central capabilities file
Before you get started creating the Azure IoT Central app you need to download the device capabilities file. The device capabilities file describes the shape of the telemetry the air quality monitor application will be sending to IoT Central.
- Start a new terminal. Windows users must start Powershell.
- Make a note of the directory, or change to your preferred download directory you are in as you will need to navigate to this directory shortly.
-
From the Terminal/Powershell, run the following command to download the device capabilities file.
curl https://raw.githubusercontent.com/gloveboxes/Raspberry-Pi-Python-Environment-Monitor-with-the-Pimoroni-Enviro-Air-Quality-PMS5003-Sensor/master/iot_central/Air%20Quality%20Monitor.json -o air-quality-iot-central-device-capabilities.json
Create a New IoT Central Application
-
So the lab instructions are still visible, right mouse click, and open this link “Azure IoT Central” in a new window.
-
Click Build a solution.
-
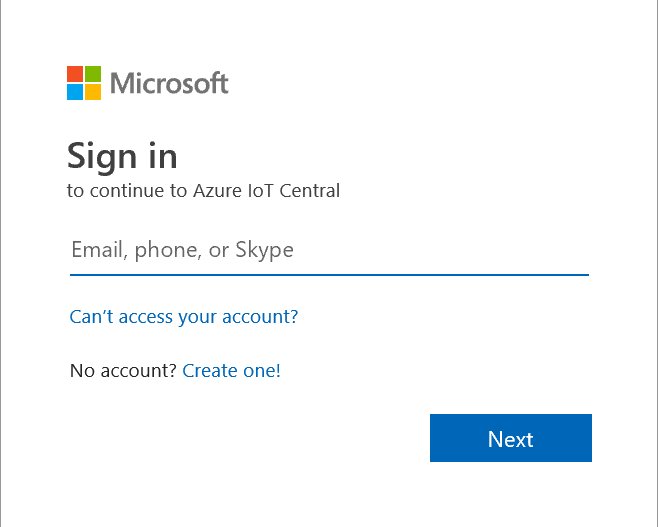
Next, you will need to sign with your Microsoft Personal, or Work, or School account. If you do not have a Microsoft account, then you can create one for free using the Create one! link.
-
Expand the sidebar menu by clicking on the Burger menu icon.

- Click My apps
-
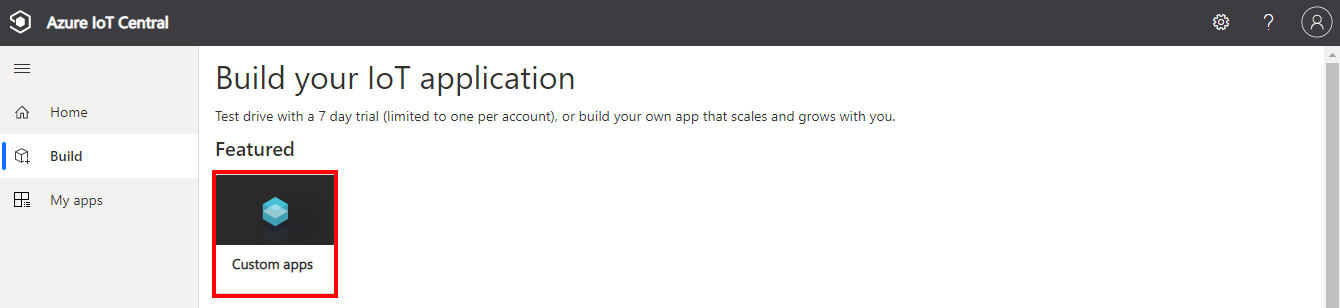
Click + New application to create a new Azure IoT Central application.
-
Select Custom app
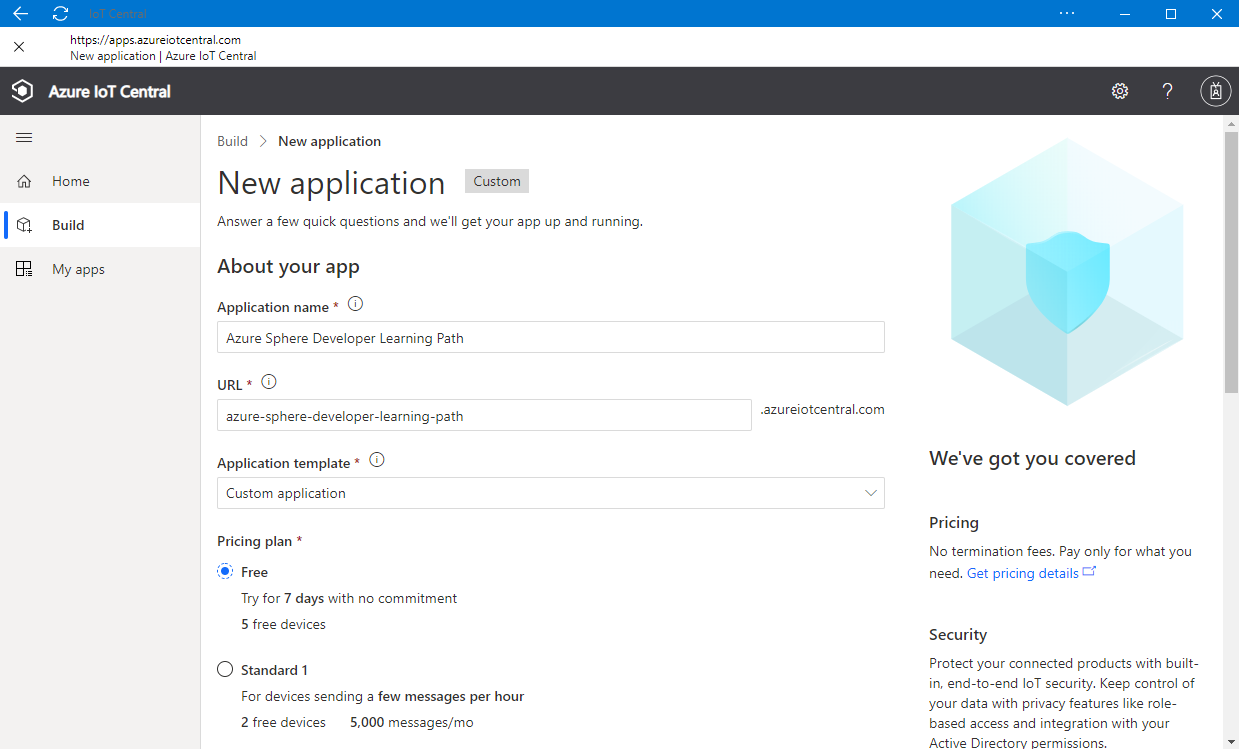
Create a new application
-
Specify the Application name, the URL, select the Free pricing plan, and complete the registration form.
-
Then click Create.
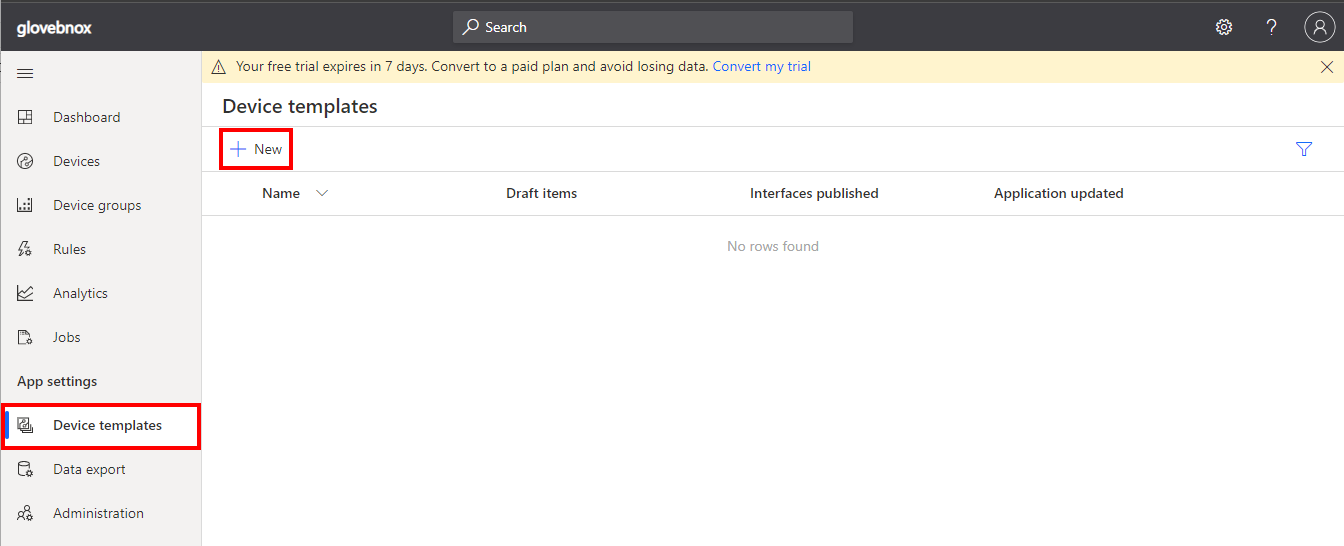
Create a new device template
A device template is a blueprint that defines the characteristics and behaviors of a type of device that connects to an Azure IoT Central application.
For more information on device templates, review the Define a new IoT device type in your Azure IoT Central application article.
-
Click Device templates, then + New.
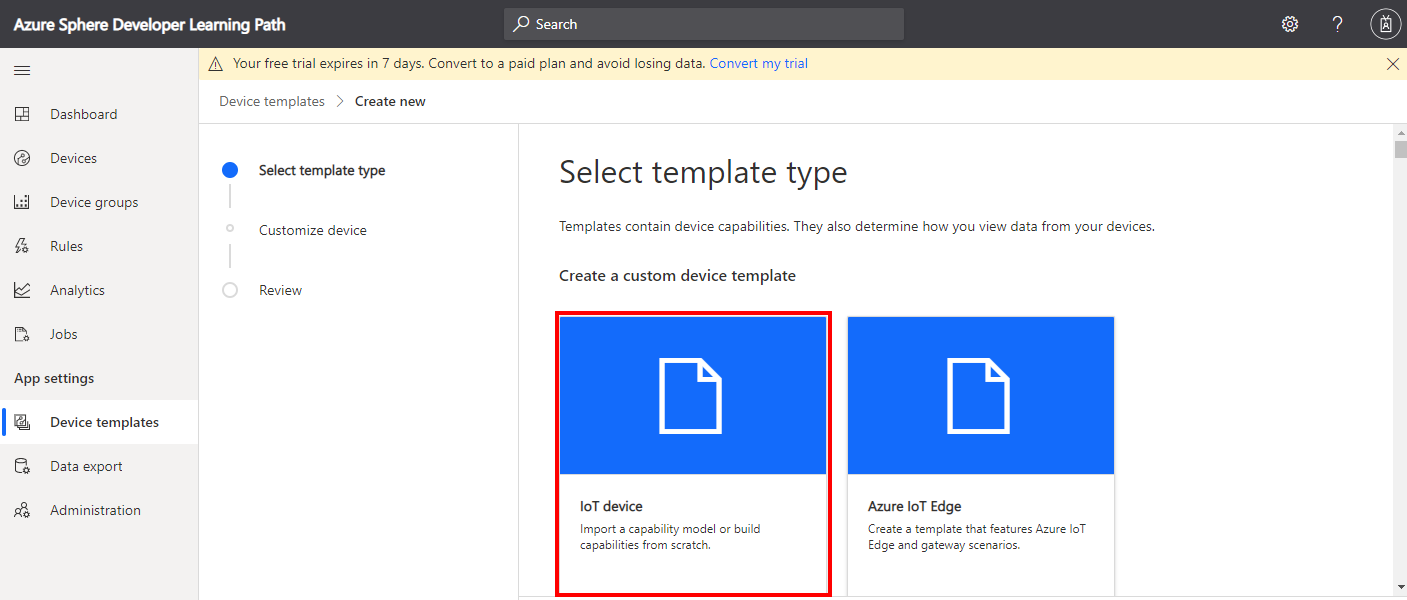
-
Click the IoT device template type.
-
Create an IoT Device Template.
- Select IoT device,
- Click Next:Customise,
- Name your template Air Quality Monitor,
- Click Next: Review,
- Click Create.
Import a Capability Model
-
Add an Interface
- Click Import capability model
- Navigate to the folder you cloned the solution into.
- Select Air Quality Monitor.json and open
Import a Capability Model
- Click Import capability model
- Navigate to the folder you downloaded the device capabilities file into.
- Select air-quality-iot-central-device-capabilities.json and open
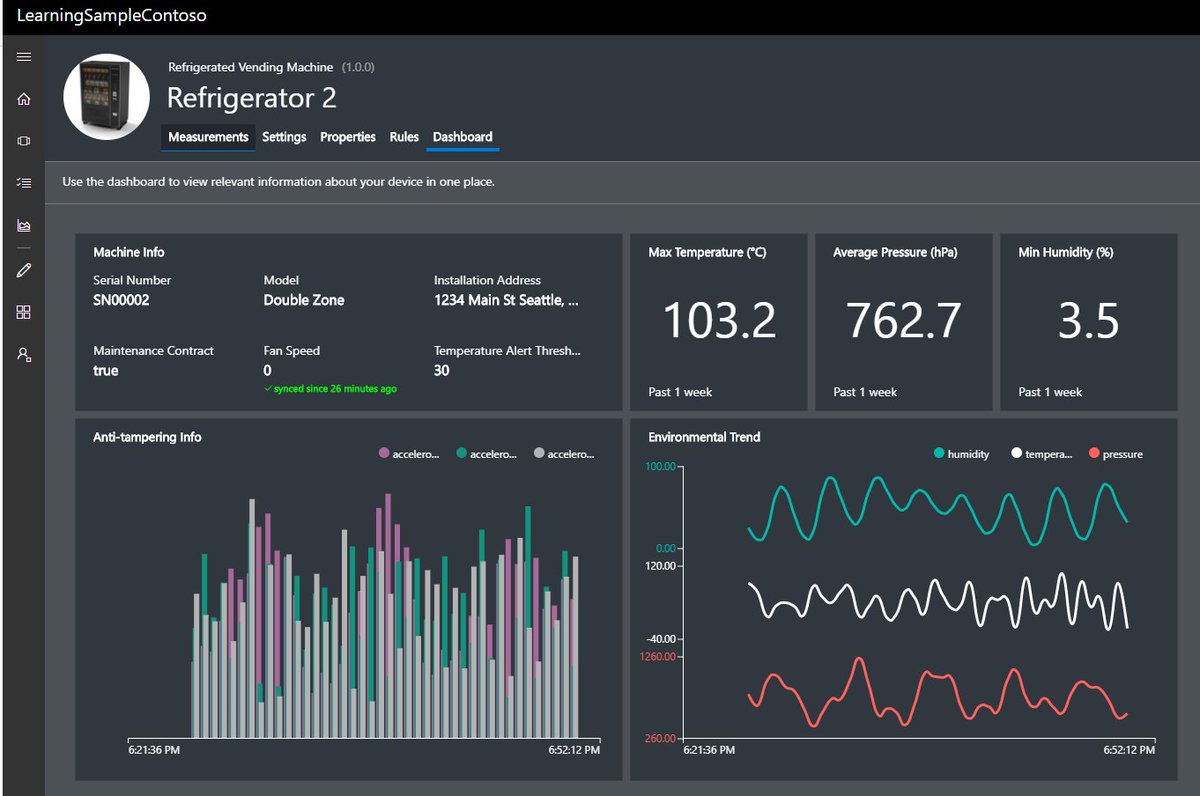
Create a device visualization view
- Create a view
- Click Views
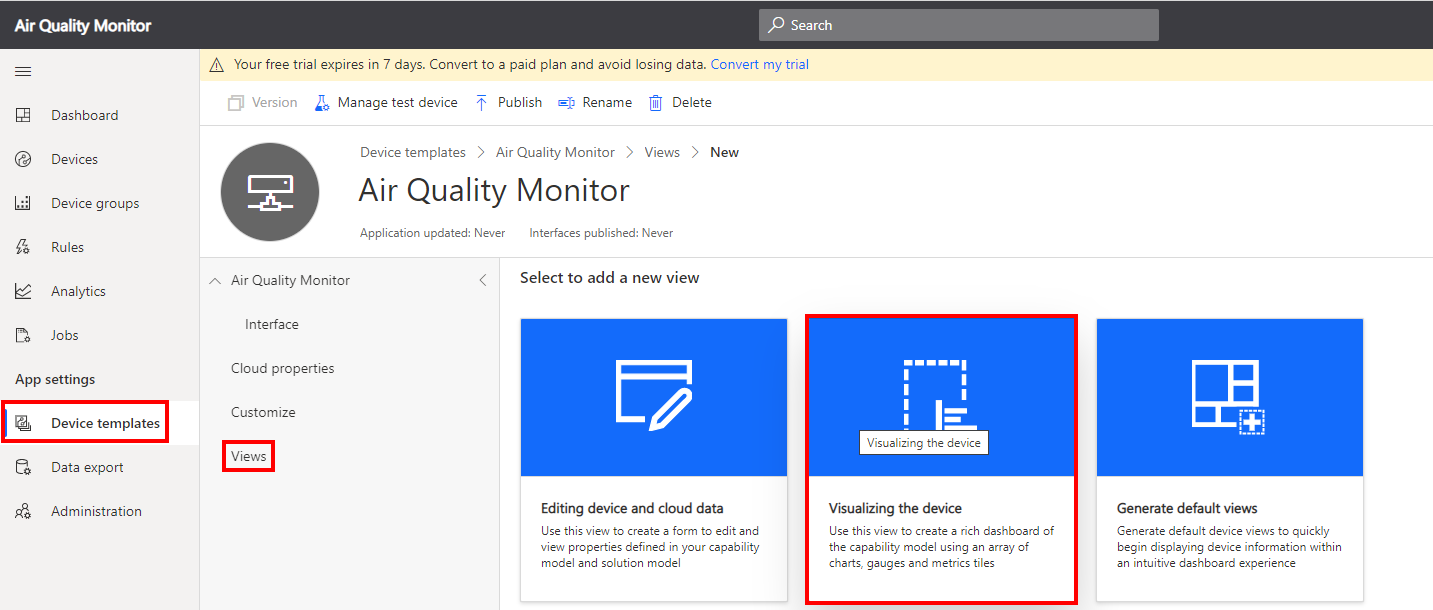
- Select Visualizing the device
- Select the Particular Matter telemetry
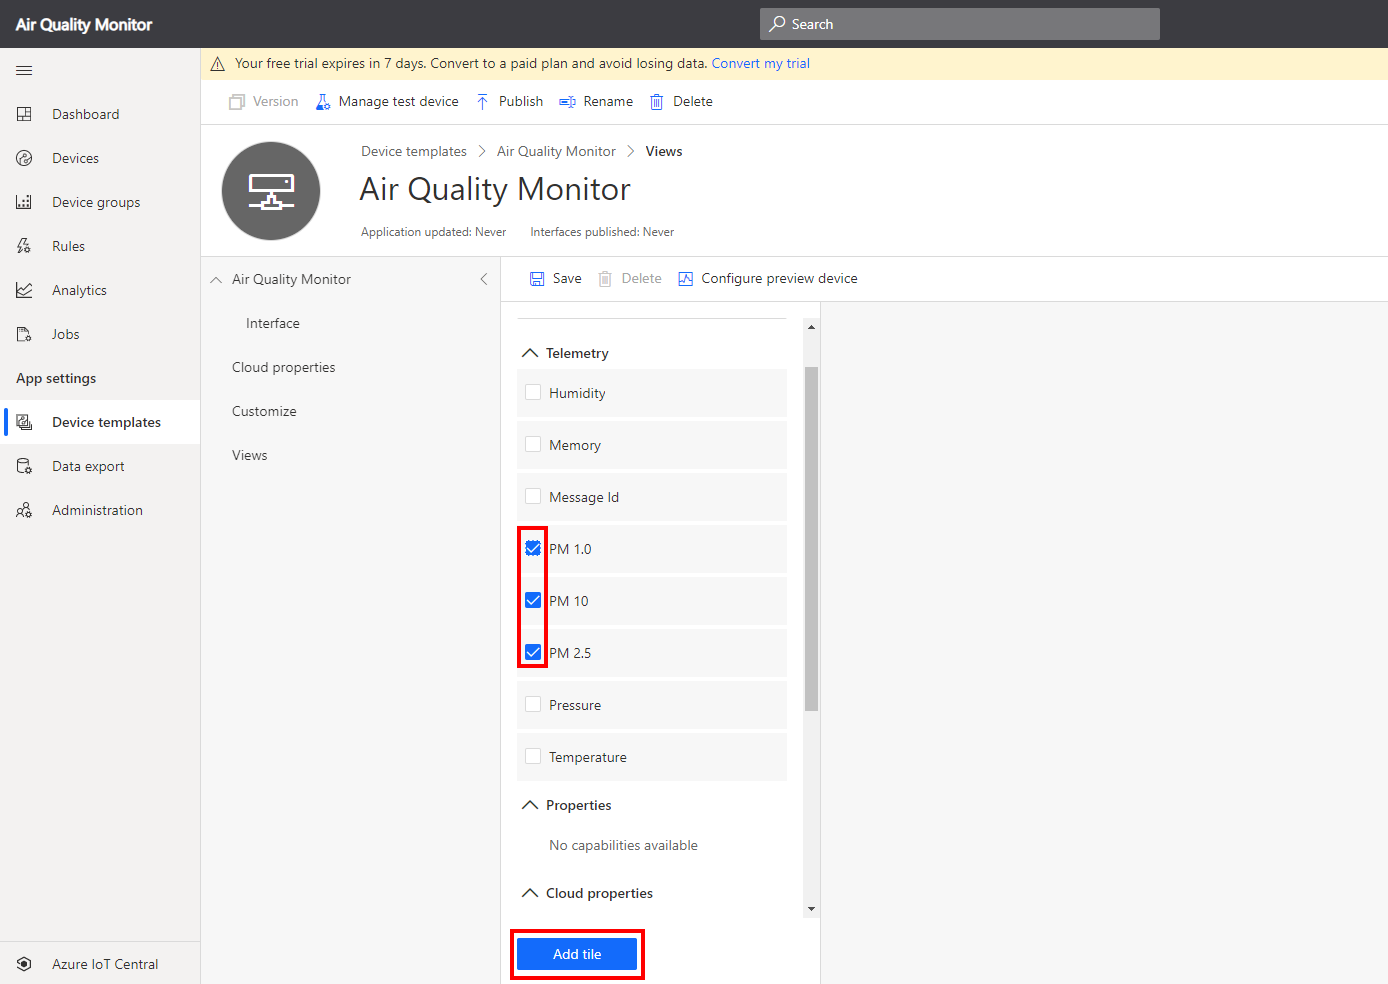
- Click Add Tile
- Select Humidity, Pressure, and Temperature telemetry.
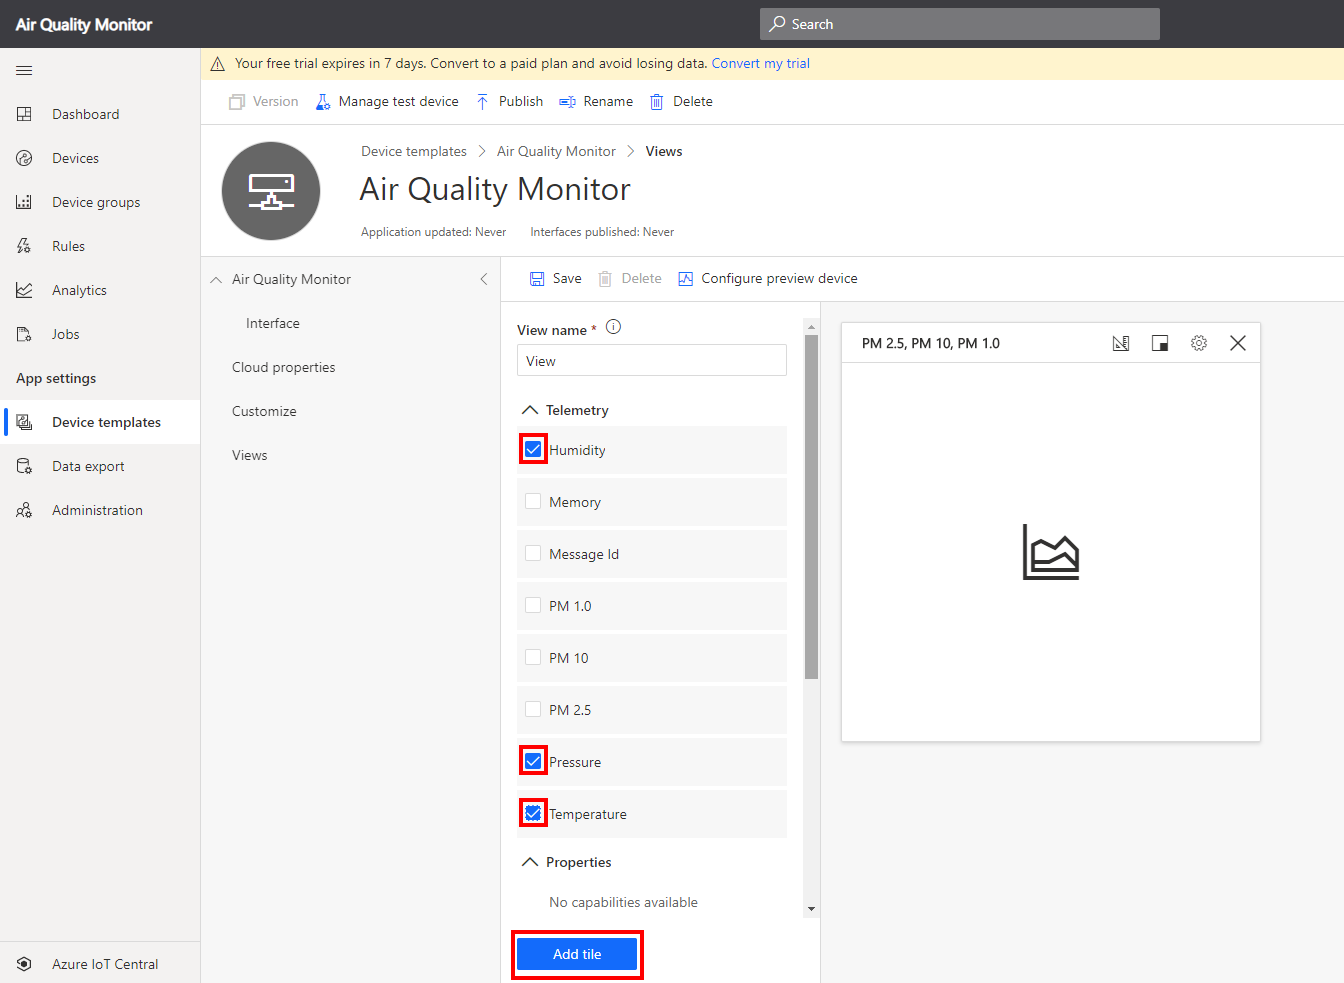
- Click Add Tile
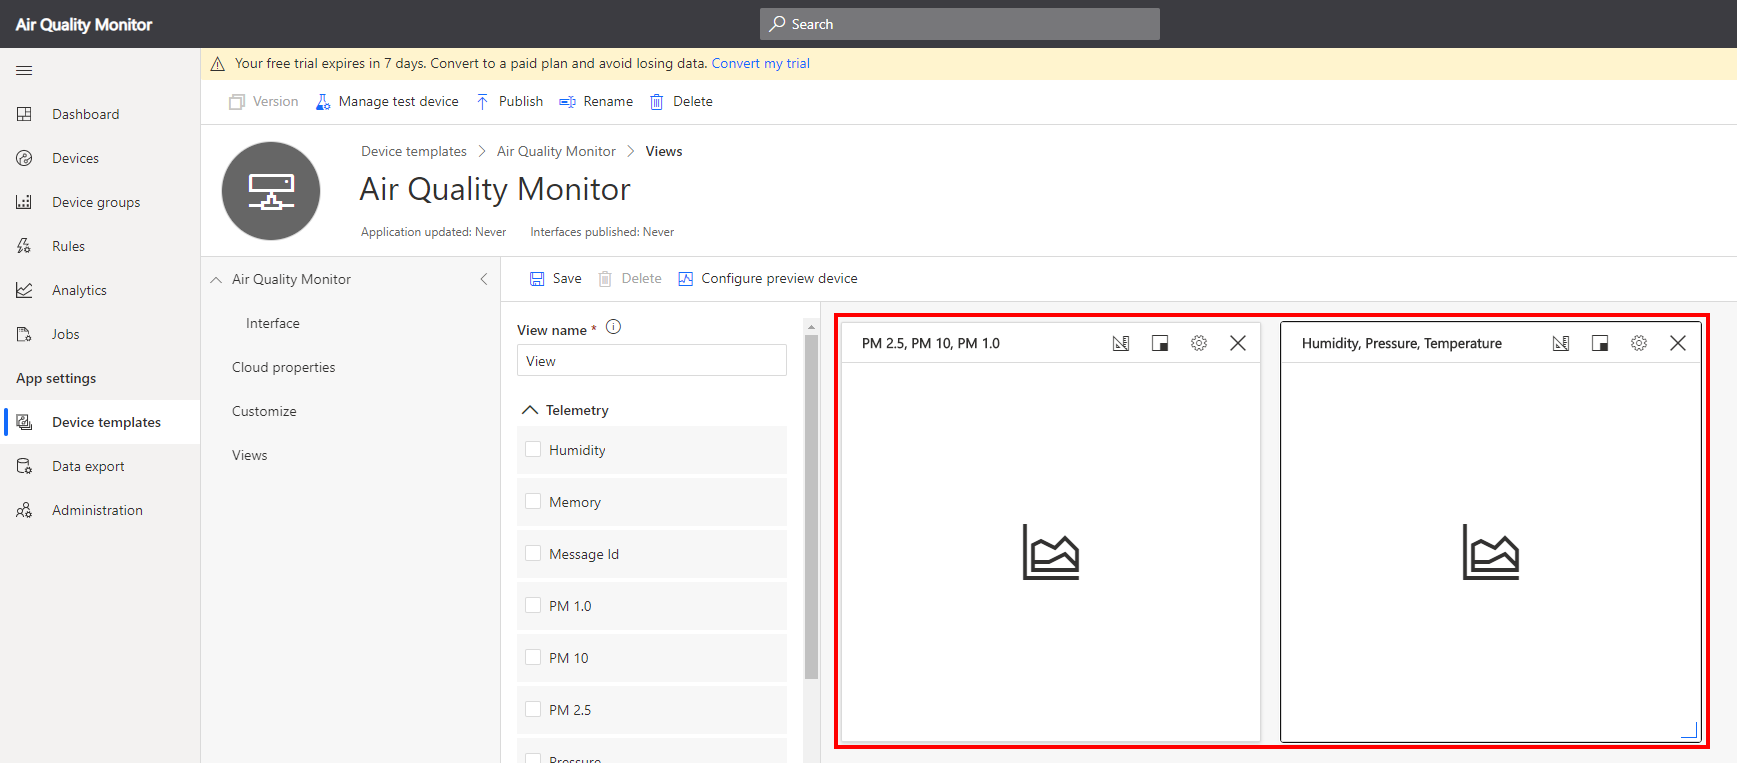
- Save the view

- Click Views
-
Click Publish to publish the template
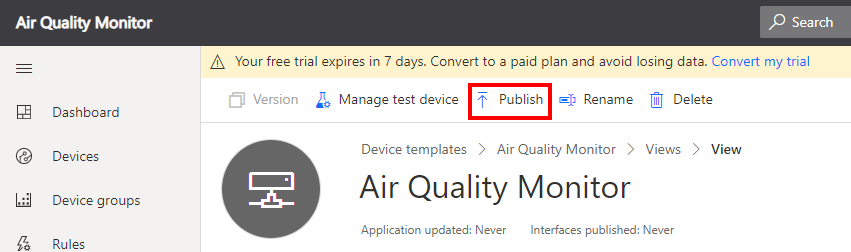
- Click Publish again to confirm you wish to publish the template for use within the IoT Central application.
Create a device
- Click Devices from IoT Central sidebar menu.
- Click + New to add a new device.
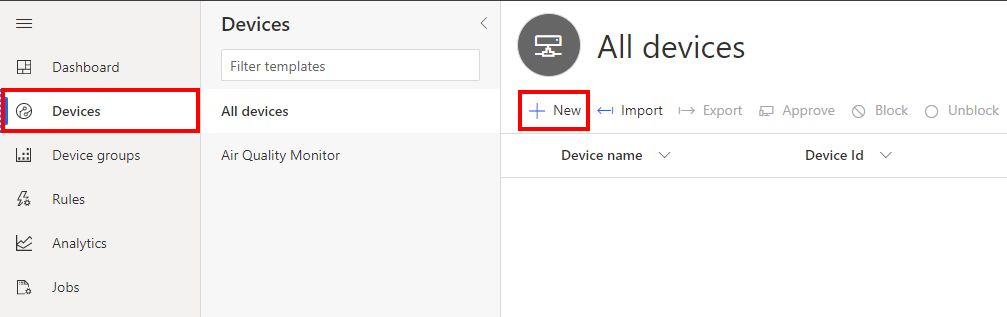
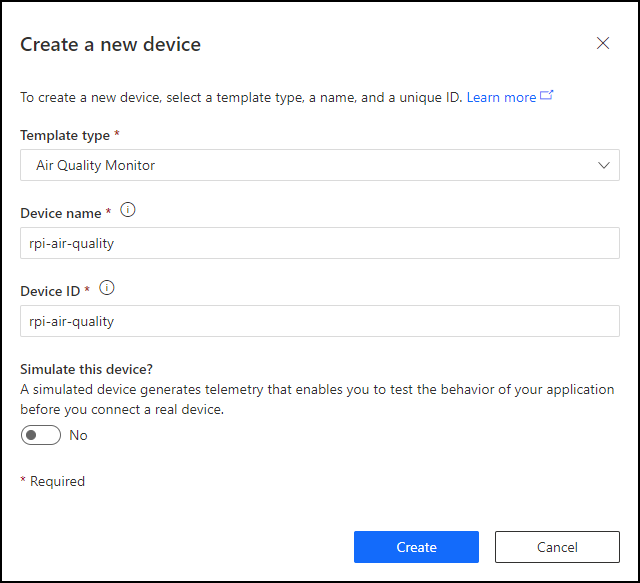
- Complete the Create a new device form.
- Template type: Select the device template you just created
- Device Name: Name your device. For example rpi-air-quality.
- Device ID: For simplicity, use the same name as your device name.
-
Click Create
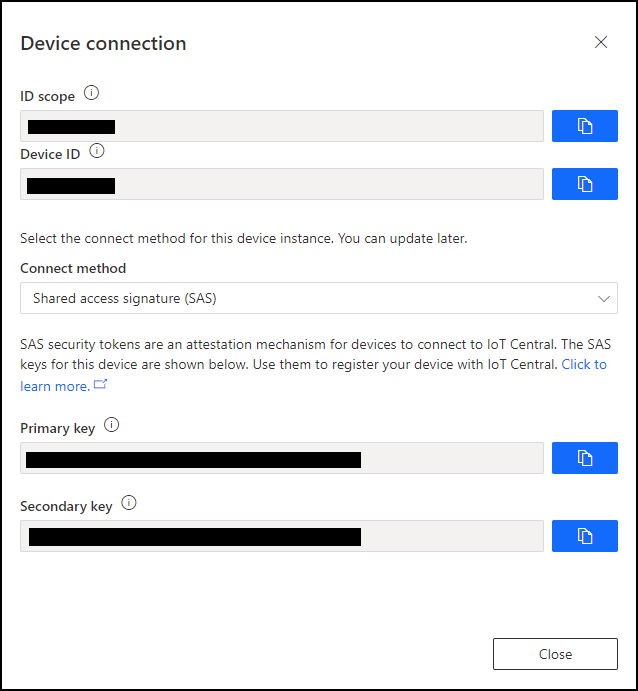
Display device connection information
- Click on the newly created device.
-
Click Connect to display the connection information

- Leave the Device Connection panel open as you will need to copy and paste this connection information into the air quality monitor application soon.